
I thought that this project was going to be quite a quick make but it's taken me just over a week and a half to complete. Do not fear though, you could make one much quicker, it's only taken me so long as my crating time is limited by the pacing program I follow in order to try and keep my illness on a even keel.
So what can I be making ? as I said last week, I know it all looks very Christmassy, but in fact I've been making a little felt strawberry or as I like to call them Strawbugs, yes summer time is on the way here at the Summerhouse by the Sea, I'm such a optimist !!!

I found Corrine Bradd's pattern for these adorable Strawberries lurking amongst the pages of February's edition of 'Craft Beautiful' magazine and it immediately made it to my future makes list. I downloaded the template stocked up on materials and I was ready for the off, to the strawberry making patch. First I cut out my felt.

Then following the pattern stitched my 16 rows of running stitch. Then join the Strawbug up with a seam stitched in back stitch.

I then cut out the leaves and Stalk from green felt, all from my comfy bed, look my foot has snuck into the shot.

Then it was time to stuff my Strawberry, I used fibre filling and gathered it all up at the top.

I then stitched the Stalk onto the top to hide the messy bit where I had gathered the top of the Strawbug and then it was time for a very important decision.......

Which ribbon to use !!!!!! the pattern called for a red gingham ribbon, but I already have a extensive ribbon collection, including a red gingham ribbon (that was too wide for this make) so I couldn't really justify buying any more ribbon, yet !! (well for now......)

In the end I decided to go with the red ribbon, I attached it to the top of the Strawberry, then stitch on the leaves, which I had decorated with contrasting green embroidery thread as per the pattern. I then decided to add some green seed beads, which are not in the original pattern. In the hope that they will look like little raindrops on the leaves. Then it was time to sew the flowers on, I added seed beads here to, on my version of the Strawbug.

And Ta-Dah my adorable little Strawberry was complete.

here's another shot, let me tell you I found it very tricky trying to get a usable photo of my little Strawbug, I used a glass, egg cups and a tea light holder to try and get a decent shot.
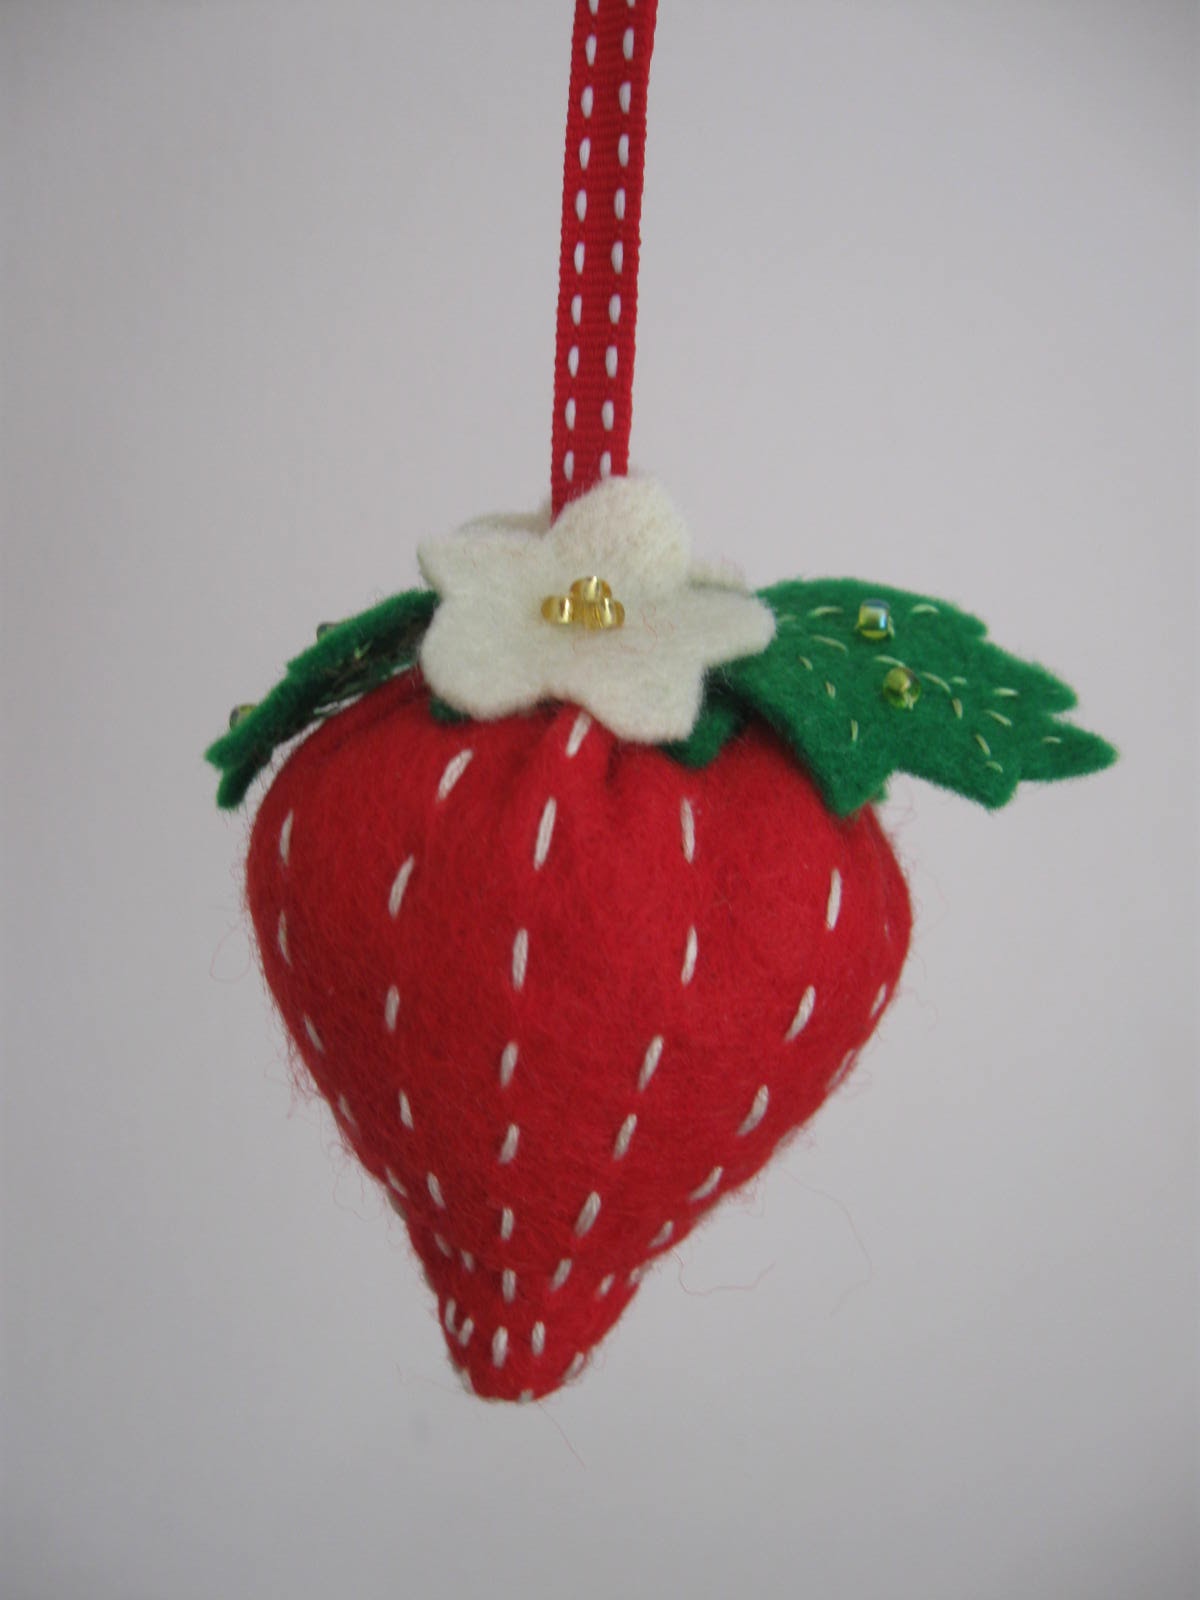
Here it is this afternoon hanging on my blossom tree I hope you love it as much as I do.
Happy Crafting
Clare x
Note to self I really must buy some Strawberries when we next do the online grocery shop yummy :0)
I think the ribbon is perfect, it goes really well with the lines of stitching on the strawbug :)
ReplyDeleteThis is such a cute creation! Love it, and I've just downloaded the template and printed off your step-by step instructions so that I can make my own!
ReplyDeleteThanks :)
Emily, Australia