Showing posts with label Advent Calender. Show all posts

Tuesday, 29 December 2015

Advent Calendar Big Ta-Dah


Hello......... Just popping in quickly, to ask how your Christmas was ? I hope you all had a lovely day.We had a good day here and since then I've spent the last few days recovering.

 I also wanted to do a bit of a grand Ta-Dah for the advent calendar, I just couldn't resist putting them all together in a mosaic, just to see what they looked like, the pics are in the order the advent calendar ran.


Ta-Dah

Wishing you all a wonderful New Year filled with all good things and lots of yarn.
Happy Crafting
Clare xx

I'll be back in a few days with some year in review posts, bye for now............

Thursday, 24 December 2015

24th December - Last minute stars


Hello......... So exciting the big day is nearly here but there is still time for this quick little make


These sweet little five


and six sided stars,
 

 I just couldn't resist using some left over Rico Creative Refection yarn to make these little beauties
So quick to make I just had to hook up a few.


Ta-Dah

Don't they look lovely on my pretty winter tree.


Here's the tutorial if you want to make some too.

Before I go I just want to wish you all a very Merry Christmas as a peaceful new year.  Thank you so much for all the lovely comments you have left throughout the advent calendar, it's been fun but a lot of work and believe me even though I started this in September it ended up right down to the wire to get it finished in time with my health throwing a few spanners in the works along the way.

Wishing you all a wonderful day tomorrow.

Ho ho ho
Clare xxx

Wednesday, 23 December 2015

23rd December Christmas Rose


Hello...........  Today's post is going to be a really quick one, as my energy levels are failing me and we are nearly out of time.


This is the last make and post to be written for the advent calendar, do not fear there is one for the Christmas Eve but it's already written.

Back to today pretty little make which is a easy one, or at least it would have been had my pain levels not been so bad.  It was worth it though, as it's such a pretty little star, plus it means I have come to the end of  four months of prep for this yarny advent calendar.  

So a big thank you to everyone who stuck with me for this yarny advent adventure.


 Ta-Dah

Stars, sparkly yarn and a pom pom what's not to love.


Here's the link to elizzza's wonderful tutorial

I'll be signing off for a few days now, there is still a post scheduled for tomorrow, but before I go I want to wish you all a very Merry Christmas and lets hope for a Peaceful 2016.

Ho ho ho
Clare xx

Tuesday, 22 December 2015

22nd december Winter Solstice, Spring magnolia


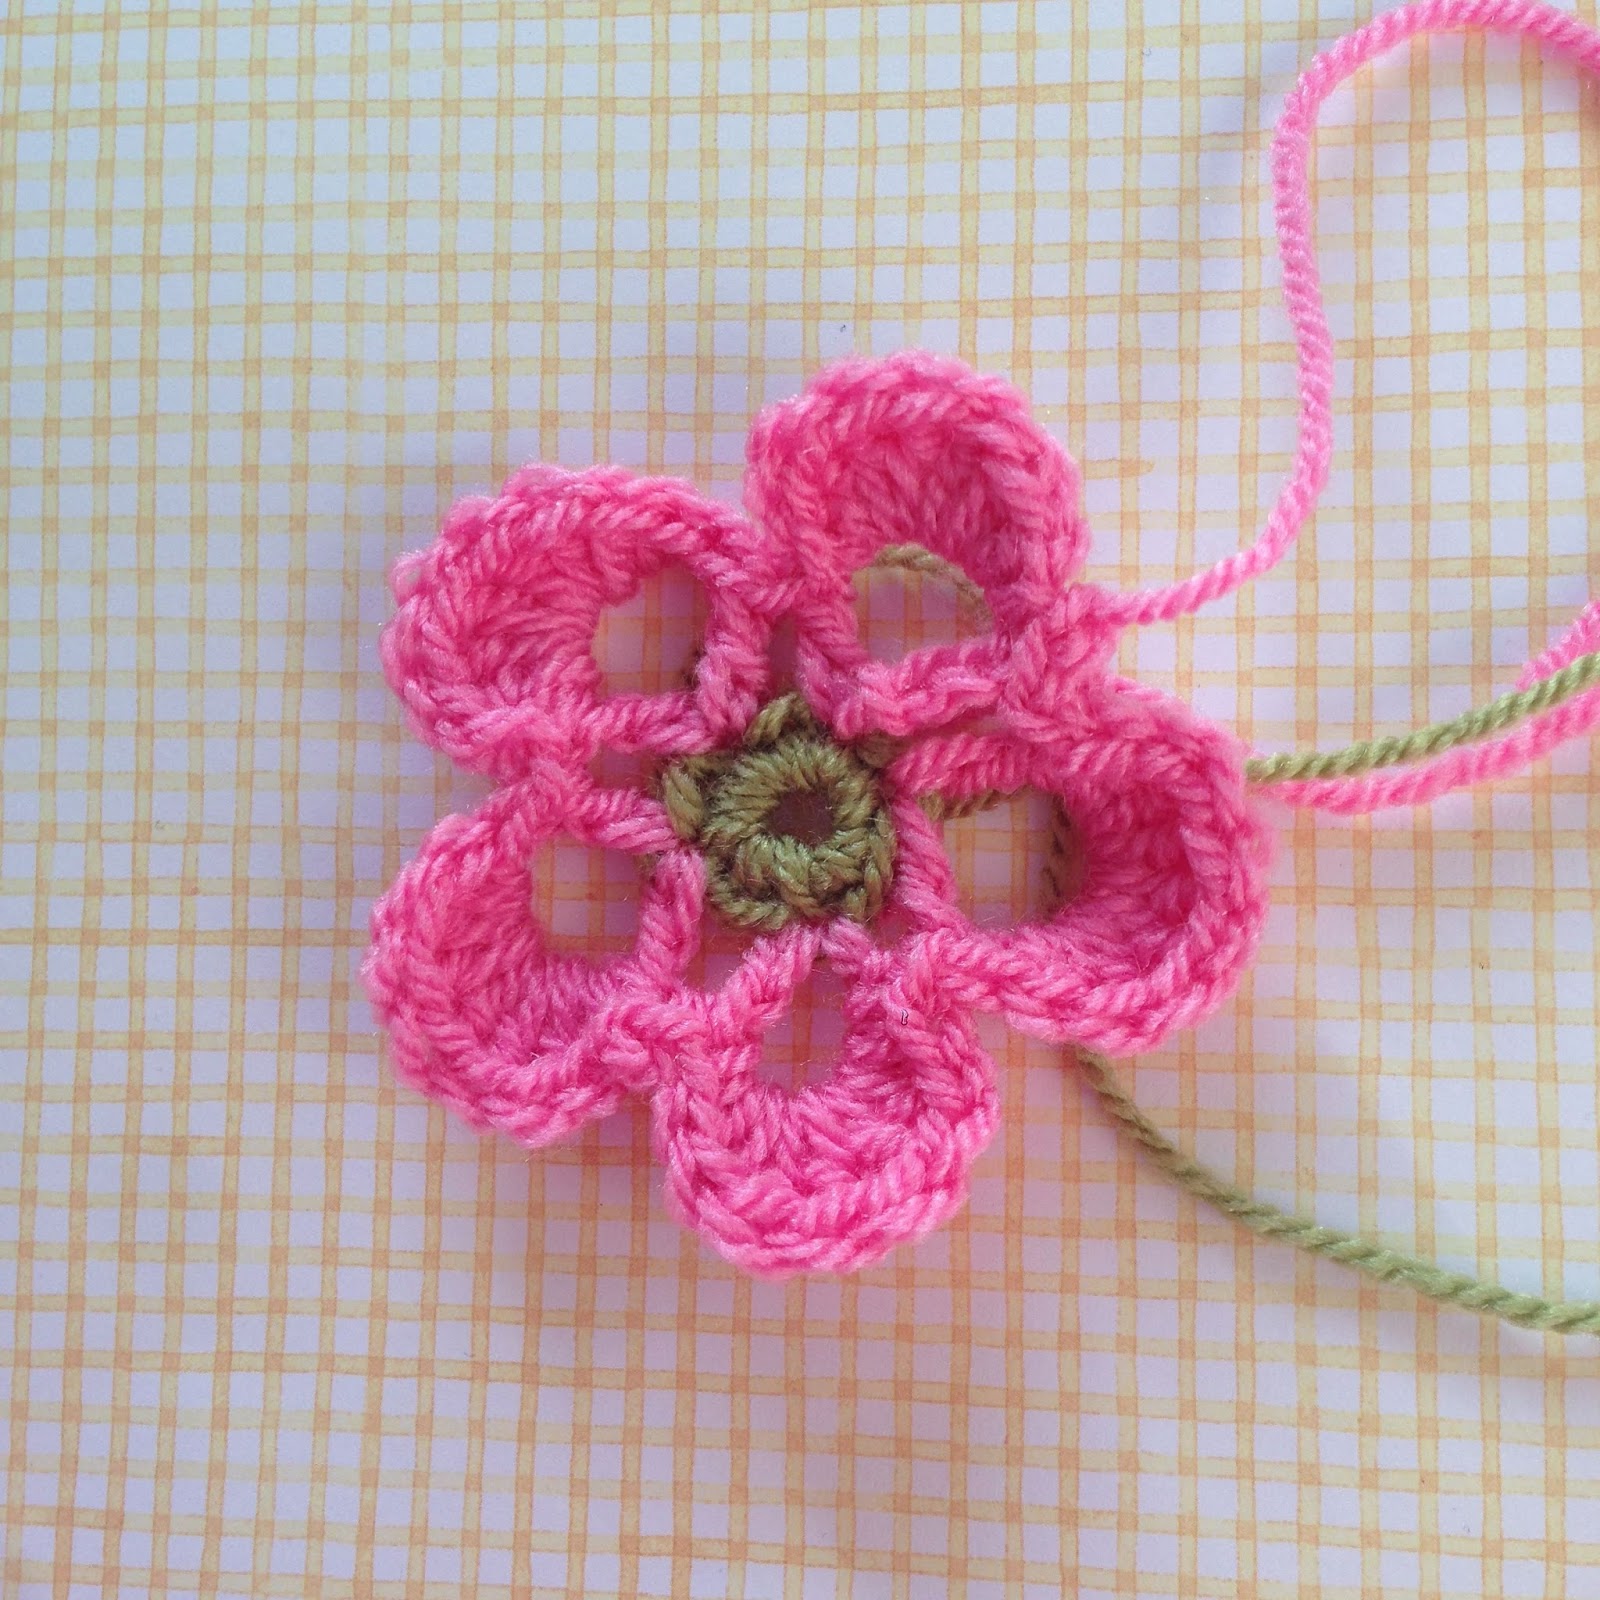
Hello.......... I'm so pleased we have made it to the shortest day and from now on things will only get lighter, so it seems perfect to celebrate todays solstice with a herald of the Spring to come.


This is another of Elizzza wonderful tutorials


I really enjoyed working with these pretty spring colours on such a gloomy winters day.


This is such a clever little pattern and I just couldn't resist using some twinkly yarn, for a hint of frost on the magnolia petals


It works up in four easy rounds.


Ta-Dah


I'm thinking of adding mine to my Springtime Wreath


Just before I go I thought I'd share with you my solstice candle I love this tradition


Of lighting a candle to burn throughout the shortest day, this year to match my magnolia flower I've used pink Roses with Winter Jasmine and Holly collected from the garden early this morning.

Ho ho ho
Clare xx

Monday, 21 December 2015

21st December- Crochet Star Eulalia


Hello........... Today's make is this pretty little star, perfect to hang on the tree


and it hooks up in just a jiffy


Such a simple little pattern


Ta-Dah

But very effective.


Ho ho ho
Clare xx

Sunday, 20 December 2015

20th December - Crocheted Flower Bauble


Hello......... Welcome to day 20 of the advent calendar today I thought I'd share a pattern of my own with you.


For this make you will need some yarn and a bauble, either a polystyrene one or just one off the tree, for this make I used a 20cm bauble, the silver one pictured above to be precises as I wanted the silver to shine through.   I used Twinkle DK yarn (mostly) and a 3 mm hook, going down a couple of hook sizes from the band.

 Oh and the tutorial is written in UK crochet terms!!!


Round 1 First up chain 4 and do 5 double crochet (dc) ( using UK terms!!) into the ring.


Then we need to make the puffy flower, using a four yarn over puff stitch. 

Round two, So join the new yarn and chain 3

Right now for the puff stitch which is 4 yarn over puff.

So yarn over, insert hook through stitch, yarn over, hook back through stitch (3 loops on hook), then all you do is repeat this 3 more times, then pull hook through all the stitches in one go then close with slip stitch. Ch 1

then another 4 yarn over puff stitch and ch , repeat 4 more time until you have a six petals on the  flower. slip stitch into top of first three ch

(Hopefully that makes sense!!)


 Now join a new colour ( I'm using a sparkly white so my flowers, in the snow) with this mild weather I'm sure it's the only snow we'll have this Christmas here at the summerhouse.

 Round three,  join the new yarn through the middle stitch of one of the petals with a slst. Ch 1, then 3DC into the same stitch. The 1 Treble (tr)  (into the 1ch from the previous round between the petals)  continue the round then slst to close the round. 


Round 4, Now it's time for the granny rounds 

Join the new yarn then ch 2, 2 half trebles (htr) into the same stitch, then ch2 miss the next two stitches then * 3htrb into the next stitch ch 2 * repeat till the end of the round close with slst into the top ch of the first stitch.


As you can see the bauble is becoming a dome shape,


now try it for size on your bauble, it's like a little woolly hat, so cute, also now's the time to deal with the ends.


Now as I love stylecraft Special DK in sherbet I wanted to add it to my bauble only it lacks a little sparkle so I added in some sparkle yarn for the next round crocheting the two yarns together.


Round five Join the yarn through one of the granny chain spaces and then ch 2 then 2 htr into the same stitch then ch2 *miss the next two stitch then 3htr ch2 *for the rest of the round join with a slst.


 Round six  Join new colour into a granny chain space from the previous round then ch3 then 2tb into the same st, *ch3 miss two stitches then 3trb into the next stitch ch3* repeat for the rest of the round.  Close with a Slst.


Round seven, join new colour as before then ch 3 2 tr into same st. Ch1, then one tr into the middle stitch of the previous round (as pictured above)  ch1, 3tr into chain space ch1, 1tr into middle stitch ch1 repeat through the round close with slst.


Yay we are nearly there you should have two cute little domes, so sew in the rest of the ends, now at this point check it fits the bauble, if you are using a larger bauble just continue adding rounds until you are there.


Then using a contrasting coloured yarn it's time to sew the two halves together, (if you'd rather you can use the some colour yarn as your final round) try to match the sides together starting off with one of the three trebles)


Keep stitching then add the bauble and continue sewing until you reach the top, then finish off by stitching through a few stitch then pushing the neddle down and along a few stitches then out again before cutting the yarn.


Ta-Dah


As a finishing touch I couldn't resist adding a bit of sparkle to the centre of my flower, you could also use a button or just leave it plain.

Happy Bauble making

Ho ho ho
Clare xxx

Saturday, 19 December 2015

19th December- Truth and love heart


Hello....... Welcome to day nineteen, not long now to the big day...........


Today we are going to make pretty hearts by starting with a square


Thankfully as the days are getting short this is a quick little make,


but I just couldn't resist adding some stitchy decoration in silver and a pretty pink gem before the
  
Ta-Dah moment !!!!


Here's Elizza's tutorial if you fancy having a go at this one

See you tomorrow !!!
Ho ho ho 
Clare xx

Friday, 18 December 2015

18th December Crochet star : Anastasia


Hello........ Another day another star to be made here on the advent calendar.


This is another of Elizzza's wonderful tutorials


and it's a quick one !!!


In no time at all I had finished, only to discover my star has five sides instead of six!!!!


Ta-Dah

Oh well it still looks pretty especially with a pearl stitched into the centre.


I'm loving all the new decorations, I can't wait to hang them on the tree.


Here's the tutorial if you fancy having a go

Ho ho ho
Clare xx