Showing posts with label Tutorials. Show all posts

Wednesday, 20 November 2013

Wintertime Wreath : Mistletoe Tutorial


Hello......... so today's post is all about Mistletoe, over the last few months I've been playing around with this lovely Sirdar Ella yarn in pistachio, trying to come up with a pattern for some little sprigs of Mistletoe for my Wintertime wreath.


Here's just a few of them, any road I finally settled on the pattern I liked the best and thought I would share a tutorial for it with you. It really easy.


I made my Mistletoe as I said before using a Sirdar cotton with added sparkle as with the other components of my wintertime wreath, I've been using lots of yarns with glitter and sparkle, well 'tis the season'. Also excitingly I got to use my new ergonomic 4mm crochet hook which came from 'here'

So here goes.....

Oh before we get started I suppose I should say I'm using UK crochet terms.


Leaving a quite long tail (you'll be needing it later) make a slip knot then chain 10.


Working in the 2nd chain from the hook do one treble
 then a treble into the next four stitches. 
In the next stitch do one half treble, 
then a double into the one after.
then slip stitch into the last two stitch of the chain.


Ok so the next bit is a bit different...........
Using the long tail end from when we made the slip stitch at the start. (sorry the pictures not clearer)
chain 3 and fasten off.


Hopefully you can see from this picture, that the 3 chain to finish uses the tail end.
So now all you have to do is make another leaf.


Once you have done that you can sew in the ends.
 I used one of the long tails ends to sew the two leaves to together at the bottom.
Then all you have to do is add some pearl beads to represent the berries.


And Ta-Dah
Mistletoe complete

I'm planning on pinning mine to my Wintertime wreath with these lovely pearly pins which will form my berries so for now I have just the leaves, (the bead in the photo, is just resting there for purpose of this tutorial)

You could also try sewing on a pearly button instead, I would have done, but can't find mine at the minute.


If you have a go at making some Mistletoe please leave a comment to let me know how you get on. As you can see I had lots of different variations of the pattern, all scribbled down on Peppa Pig post its, but I've hopefully chosen the best pattern to share with you all.

Right I'm off to get on with some Secret Santa makes
 Linking up with Christina's Made by hand 
and Nicoles KCCO 
and yarning along with  Ginny
This week I'm still reading 'All I want for Christmas' by Amy Silver
 a little bit of Christmas fluff to escape to for 10 mins each day.
Happy Crafting

Clare xx

Thursday, 10 October 2013

Little crocheted flowers (CAL)


Hello..... today I thought I'd share with you these tiny little flowers. I came up with this pattern when I needed a little flowers for a recent make.  I wanted a tiny flower that had lots of petals, that I could use as part of a decoration. Which I'll tell you all about another time.........


These little flowers ended up with nine petals, I needed four for my make but you can make as many as you like.  They would be great for decorating brooches, hats, scarfs, gloves, well anything you can think of that needs a tiny bloom really.

So here's the pattern!!


Chain four and form into a ring.
Then chain 2 , then do 9 double crochet (uk) into the ring.
Then if you want to you can fasten off and add a new coloured yarn, like I did.

Join new yarn to the ring
then chain 2, *then 1 treble and 1 half treble into the first stitch then slip stitch into the next*
repeat from ** another nine times until you have nine little petals

To finish slip stitch into the base of the first petal and fasten off, and ta-dah your little flower is complete.

I made mine using Stylcraft Special DK in Fondant and Cream. ( I do love this yarn as it's available in so many colours)


My make also has some other crochet elements including these super cute little hearts.  I made them using the Teeny Tiny Hearts tutorial over on 'Attic24' they are so cute and really easy to make. Lucy really does write the most fabulous tutorials.

So have you guessed yet what I've been making?
 I'll let you in on the secret very soon as my little make went off in the post today, so I'll be able to tell you all about in a few days.

I hope the pattern is understandable and if you make a little flower, please let me know how you get on.

Happy Crafting

Clare xx

Thursday, 13 June 2013

Vintage Rose : Birthday Card


Today I thought I'd share with you a card I made last week for my sister for her 40th Birthday.


As always the first thing I did was come up with a basic design for a the card on paper. I knew I wanted to make the card really pretty, using lots of pale blues as they are my sister favourites, I also wanted to put 40 on the card as it for a special birthday with a 0. I tried to draw a 40 free hand but I was unhappy with the outcome.


So I had a dig around in the Summerhouse supplies, until I found some number stencils, yippee what a relief, I needed to cut the numbers out so I popped out the the inner part of the stencils and cut round them.


I use some lovely vintage Rose paper from my stash and doily attachments both on Linen paper called Vinatage Notes by docrafts I really love this paper and wanted a vintage look for my card design.


I cut out a piece of the Rose paper and attached it to a pink card blank, leaving some of the card exposed at one end to add contrast, I then cut a piece of lace and stuck it along the join with double sided tape.


Using mini foam pads I then attached the Doily attachments to the card, making sure they were centred on the Rose paper.


Then it was time for the really fiddly bit, the numbers were in two pieces and tiny as you can see from the number four, so


I stuck the pieces together with double sided tape and then stuck them onto the card attachment using glue dots, as I may have mentioned before, I do love a glue dot.


I then added some blue pearlised beads onto the 40, for decoration and to help disguise the joins on the numbers.


and the card was nearly complete, all that was left to do was attached the ribbon flower and beads onto the lace with double sided tape and glue dots.


and Ta-Dah my Vintage Rose card was complete.

Vintage Rose Card ingredients


  • Pink card blank
  • Rose paper 'Vinatge Notes' range from Docrafts papermania.
  • Blue and cream polka dot paper
  • 2x Doilies from thre above range  'Decoupage Medley'
  • Lace
  • Beads
  • Ribbon Flower
  • Glue dots
  • decoupage scissors
  • Ruler
  • Tweezers
  • foam pads
  • Double sided tape


Just before I go I thought I share this fab card with you too, it was made in the Summerhouse a couple of weeks ago by my  9 year old nephew,  a top secret mission for my sister birthday, isn't it cute. I think he did a great job with it. He's such a good little artist.  I think she'll be as pleased as punch.


The only down side to a letting a nine loose in your crafting shed is the Craftermath but never mind we had fun making the mess.

Happy Crafting

Clare xx

Monday, 11 March 2013

Spring Time Project :: Anemone Pattern


March

The view from the window: March

Morning all I hope everyone had a great weekend. Winter is back with a avengeance here today at the Summerhouse it's absolutely freezing, it's snowing and there is a biting easterly wind blowing off the sea. So I'm glad I'm snuggled up warm in the house with my knitting and crochet to do. The above view from the window was taken earlier this morning, now snow is falling heavily and the windmill is lost in it's midst.

At least the fields are starting to turn green though, next month they will probably have turned yellow as they are usually planted with oil seed rape and I will be sneezing and suffering with the terrible hay fever that it always gives me. It may look pretty and be a useful crop but when it flowers it's nasty stuff and causes a lot of suffering to some of the locals around this part of the world.

Any road today I thought I'd share with you, the pattern I have created for the Anemones I've been making for my Spring time wreath you can read  more here . This is the first crochet pattern I've ever come up with, and I think they look some what like the flowers they are supposed to be.

Anemones are one of my favourite flowers I love there vibrant colours the purple's the blue's the pink's, reds' and whites are all so lovely, here's a big bunch I was given for my birthday last year. I love them so much they make my heart sing. There are some planted in the border by the Summerhouse too, I can't wait for them to come up again this year.


In fact even though I'm not a very good at art I was inspired to paint a water colour of them, to try and capture there lovely colours, I don't think I managed it very well though.

Anemone Pattern


Before we start I suppose I should tell you that I am using UK crochet terms.
You can either use a 4mm or 3.5mm hook. The stitches used are;

chain -ch
Slip stitch -ss
Double crochet -dc
Treble crochet- tr
stitch-st

So hopefully it's quite an easy pattern to follow, as I'm a beginner myself.


Using Black yarn cast on 6 ch and join into a ring with ss


Make 16dc in to the ring, ss into first st to finish off


Join the second colour, using a ss into the finished off stitch


To make the first petal *ch6, then 2tr into the next 2 st's, then ch6, ss into the next st*


repeat * this 4 more time until you have 5 petals.


Fasten off  with a ss into the first st.

Then sew in the ends


and Ta-dah you have you very own crocheted Anemone.


This is the difference when using a 4mm v 3.5mm hook.


I've make several of these and I'm going to have some spares, as well as some of the other Spring flowers I'm making. So the plan is to make some of them into brooches to donate to a auction that is being held to raise money for Macmillan Cancer Support and Invest in ME.

Happy Crafting
Clare x


Sunday, 3 March 2013

Blossom, Mother's Day card


Over the weekend I've been making a Mother's Day card, for my lovely Mum, she does so much for me, so I wanted to make her a really special card to say Thank you.  In the UK Mother's day or Mothering Sunday as my Nan used to say, falls on the 10th March this year.

Do you remember the new craft supplies I bought a couple of weeks ago. I posted about them here well I've been putting them to good use.


I had this idea that I wanted to make my Mum a blossom card as she loves Cherry blossom and has been looking forward to spring, especially over the last few weeks during this cold spell we've been having. I had the idea to make a variation of my Birdie blossom card, you can read all about my Birdie cards here .So my Mother's day card is going to be a butterfly blossom card. I do love a paper flower.

I drew up a quick sketch of my general concept, added some paper flowers, which gave me a basis to start from and thankfully it showed me that it worked as a concept for a greetings card yippee.


I then cut out some blue polka dot paper with my scalloped scissors and drew some branches free hand in pencil. I had great fun playing around with the flowers arranging and rearranging them.


Once I had them laid out in a pleasing way, which took a little while as I very indecisive I took a quick snap on the camera, my memory terrible. I then tipped all the flowers and butterflies off. So I could draw the branches on with my brown Stablio pen.


Then it was time for the fun bit, sticking the flowers on with mini glue dots, I do love a glue dot. Then adding the butterfly to the top right, I cut down a 'with Love' greeting, which I think helps balance the design.


Originally I had two butterflies on the card, but thought it made it look a bit cluttered, 'less is more,' and all that. So I finally decided on this layout, mini  Ta-dah moment.


I had originally planned on using a white or blue card blank however when I tried out all the options.


I decided I liked the pink one best, which was a bit of a surprise. Although Pink is one of my Mum's favourite colours.


So here's my completed card Ta -Dah. 

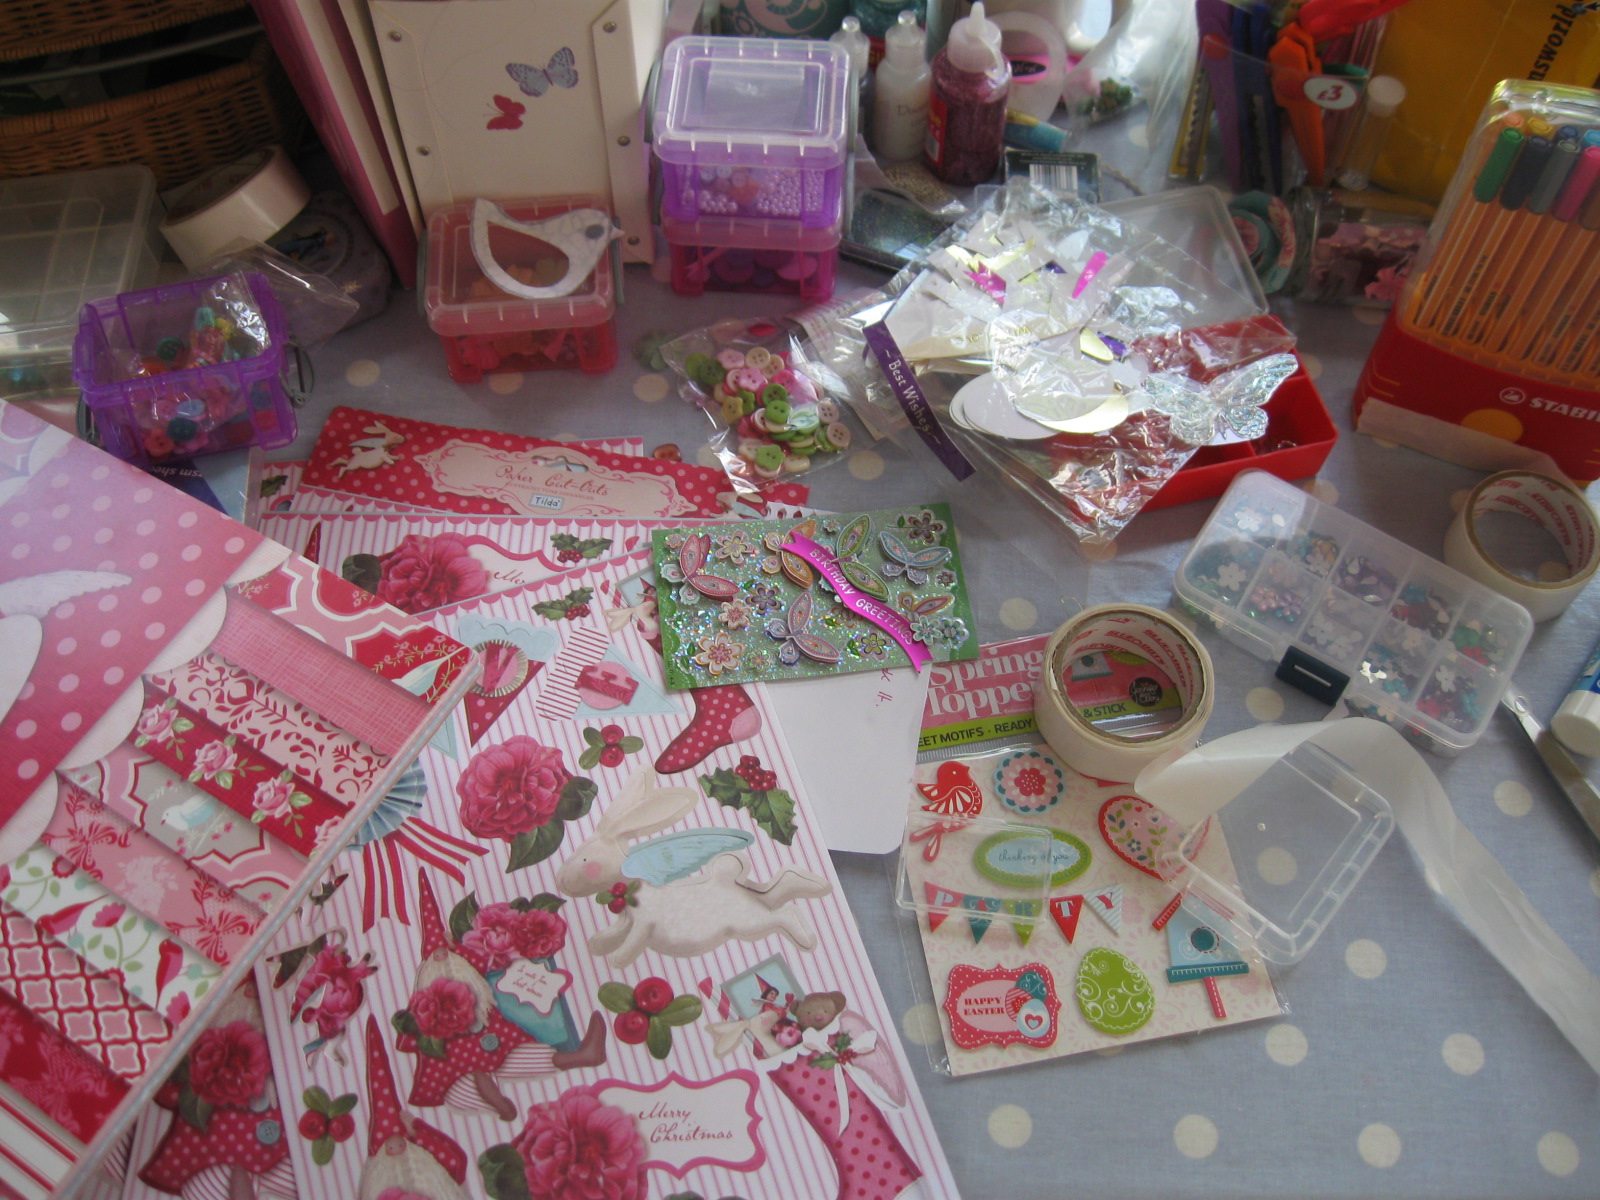
All that's left to do now is tidy up and Oh dear what a mess I've made.I'm not the tidiest when I'm absorbed in my crafting. Now's the time to look away if you don't like mess!!


Now for a quick card ingredients list.

  • Brown Stablio pen / Scalloped scissors /glue stick/ mini glue dots
  • pink card blank
  • Blue polka dot paper from the  'me to you' Spring Chic pack
  • Gem stones pearlised and Iridescent
  • Mulberry paper flowers
  • Butterfly and flowers stickers by Sil
  • Miscellaneous paper flowers beads and sequins
  • Glitter Glue
Happy Crafting

Clare x